Note: As an Amazon Associate I earn from qualifying purchases when you click on links in this post to go to Amazon.ca.
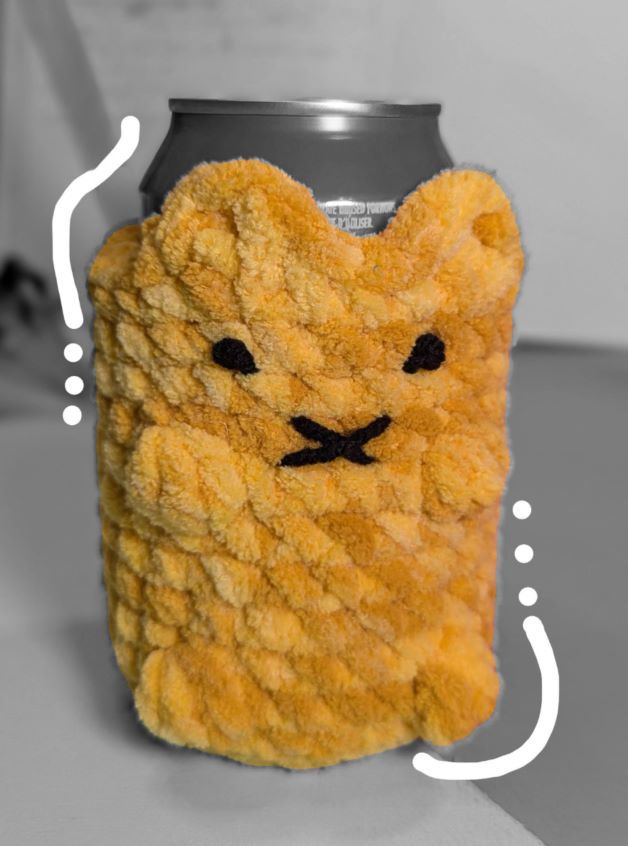
As someone who loves to sip on icy cold drinks, I constantly find myself facing a familiar dilemma—perpetually cold hands. The battle between enjoying my favorite chilled beverages and keeping my hands warm seemed like an endless struggle. A spark of inspiration led me to the most delightful solution. I created a crocheted can cozy that resembles a cuddly cat. It is crafted from the wonderfully soft Bernat Blanket yarn. Scroll down to the bottom for the free pattern.
The Problem: Cold Hands and Cold Drinks
If you’re like me, you know that there’s nothing quite like the refreshing taste of a cold drink. But holding that chilly can inevitably results in cold, uncomfortable hands. For a while, I experimented with various methods to keep my hands warm while enjoying my drinks, but nothing seemed to fit the bill perfectly.
The Solution: A Cute Cat Can Cozy
Then one day, as I was stitching up a cuddly amigurumi plush, an idea struck me: could I combine the function of a can cozy with the tactile delight of an amigurumi? Could I crochet a cozy that not only kept my hands warm but also added a touch of whimsy to my drink experience? And thus, the concept of the critter can cozy was born. Soft, cuddly, and utterly adorable, this cozy would serve both form and function.
Designing the Cat Can Cozy
The first step in this creative journey was selecting the right yarn. I wanted something plush and comfortable, and Bernat Blanket yarn was a no-brainer. Its softness and warmth were just what I needed for this project. As an amigurumi maker, I already had a stash with lots and lots of colour choices. With yarn in hand, I set out to design a can cozy that would embody the charming characteristics of a cat.
Key Features: No-Sew, Tail, and Paws
What makes this cat can cozy truly special is its design:
- No-Sew Construction: I wanted the project to be as hassle-free as possible, so I opted for a no-sew approach. This way, even crochet beginners could easily follow along.
- Adorable Cat Features: The cozy boasts delightful details, including a little tail and tiny bobble-stitch paws, giving it a playful look.
Crafting the Cozy
The process of creating the cozy was a delightful experience in itself. Watching the cat features take shape as I worked each stitch brought a smile to my face. The Mystical collection Bernat Blanket yarn I pulled from my stash was especially soft. It proved to be a joy to work with, and soon enough, my vision came to life.
The Finished Product
The end result? A charming, adorable cat can cozy that not only keeps my hands warm but also adds a touch of personality to my drink. My original prototype, in the Bernat Blanket Brights colourway “Carrot”, has been sitting at my spot at the dinner table for two weeks. Now, every time I reach for a cold beverage, I’m greeted by the sight of my cuddly crocheted companion. It has held up well to daily use, and seeing the cat ears peeking over the can brings a smile to my face every time. If such time comes as it touches food or encounters a spill, Bernat Blanket can be tossed in the wash on the delicate setting, and tumbled dry with low heat on the delicate setting, as well.
Free Pattern
Note – This pattern uses US Crochet Terminology.
Abbreviations:
bo – make a bobble stitch (with 3 partial double crochets)
ch – chain
sc – single crochet
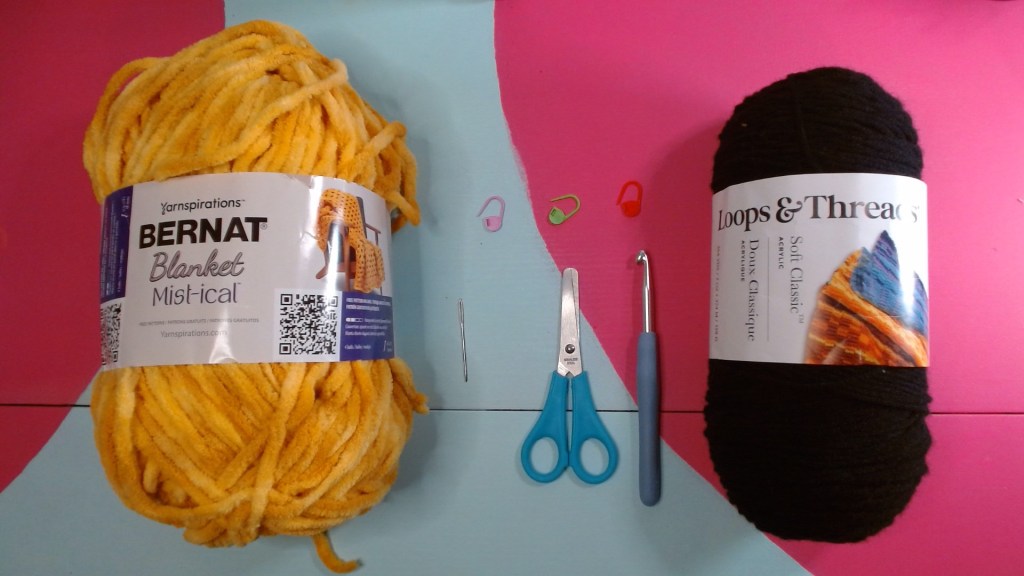
Materials:
1 ball (scraps will work – this is a very small project!) Bernat Blanket or Bernat Baby Blanket
About 12-24 inches (30-60 cm) worsted weight black yarn
Tools:
Instructions:
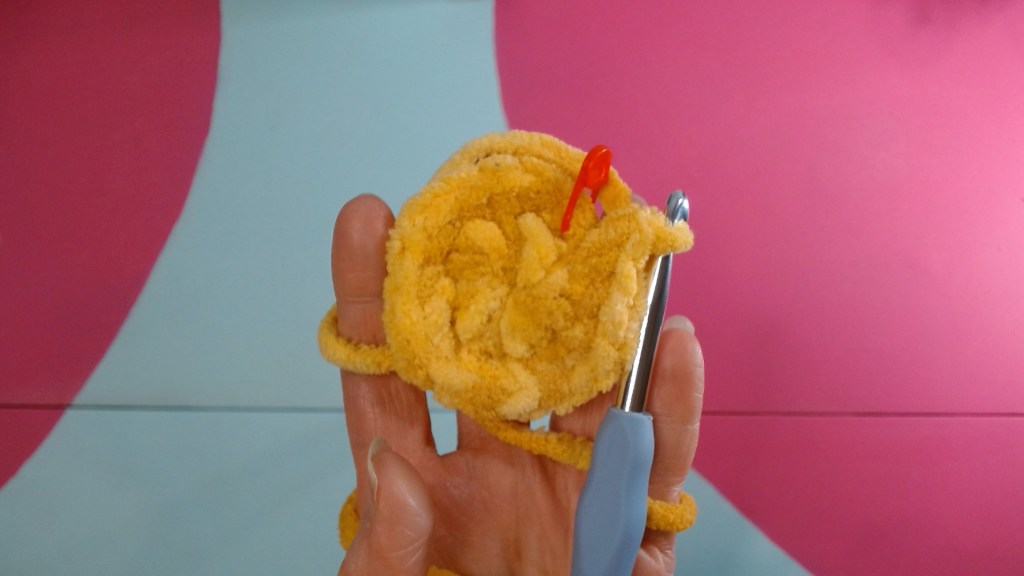
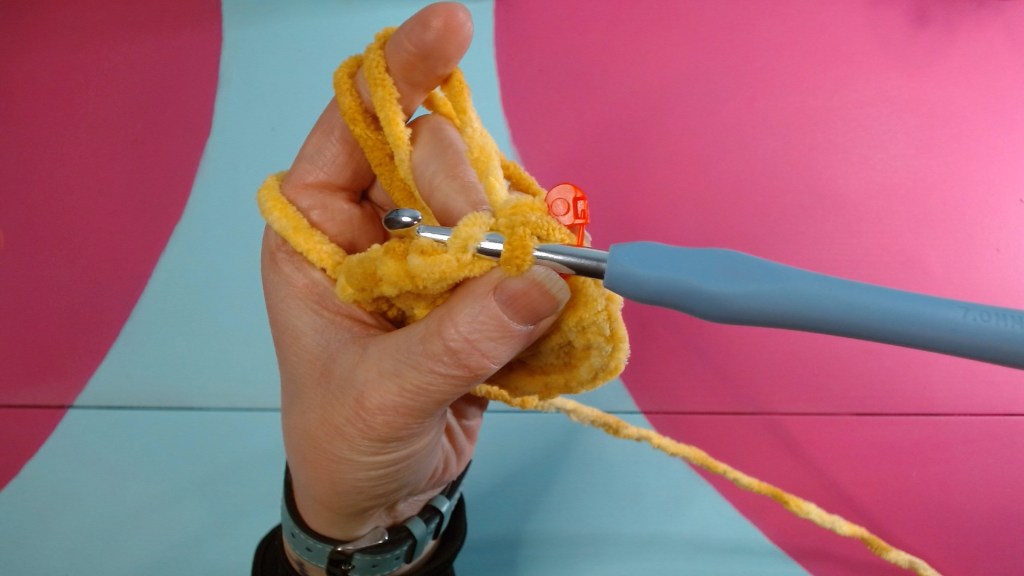
Round 1 – sc 12 into a magic ring (12 sts)

Gently pull the magic ring closed, being careful not to pull too hard and snap the yarn. Bernat Blanket is quite sturdy and so this is unlikely, but it is best to be careful.
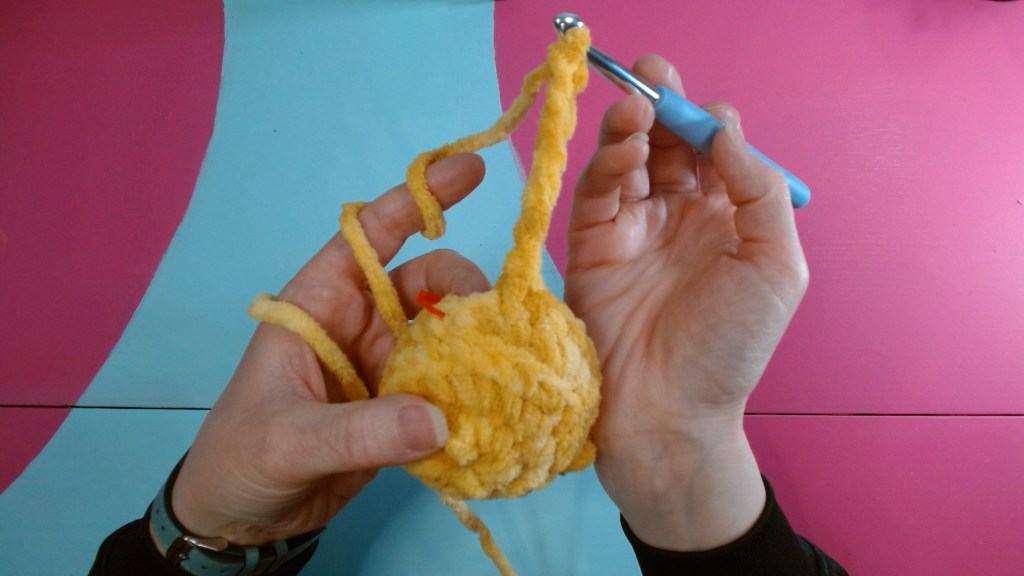
Round 2 – (1sc, inc)*6 (18 sts)
Round 3 – (2sc, inc)*6 (24 sts)
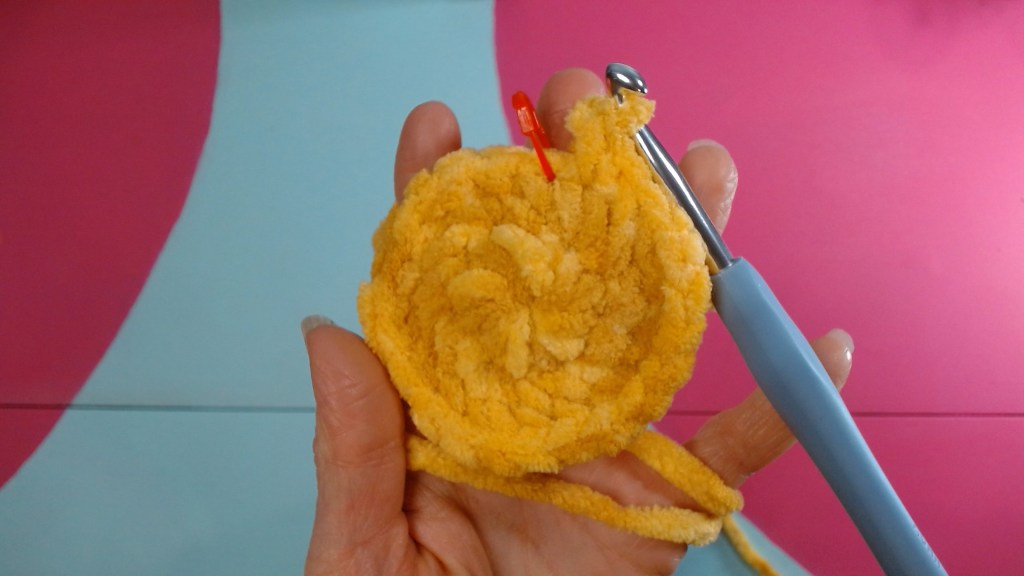
Round 4 – in BLO, sc 24 (24 sts)

Round 5 – in both loops, sc 8, bo, sc 4, bo, sc 9, make tail (ch 6, sc your way back down the tail toward the body, sl st into remaining stitch (24 sts + tail)
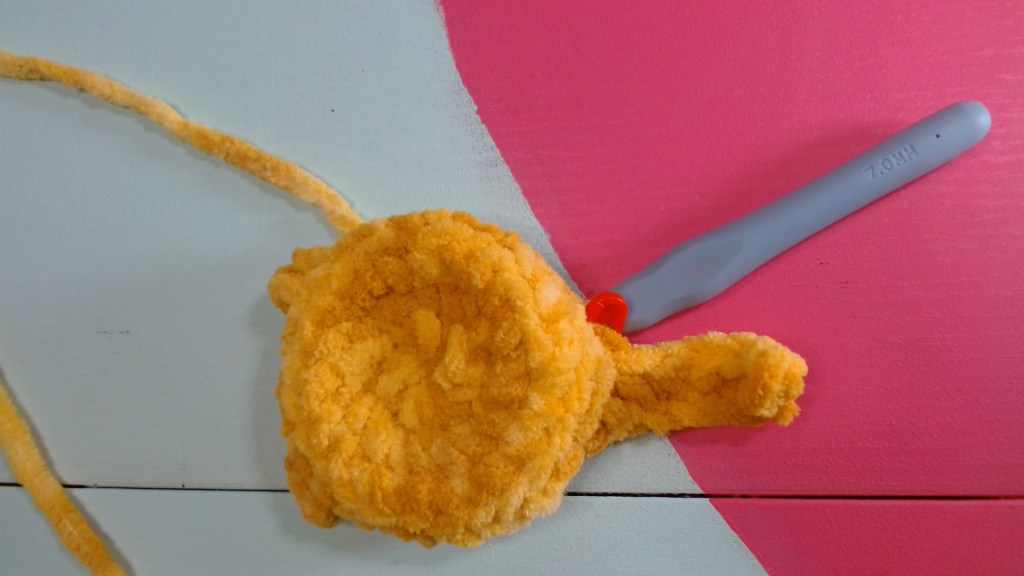
Round 6 to Round 9 – sc 24 (24 sts)

In the next round, we will add the bobble stitches to represent the upper paws. Use a couple of stitch markers to ensure these will align with the lower paws. They may not be perfectly aligned with the instructions below. Defer to your markers rather than the numbers in round 10.
Round 10 – sc 9, bo, sc 4, bo, sc 9 (24 sts)

Round 11 to Round 12 – sc 24 (24 sts)
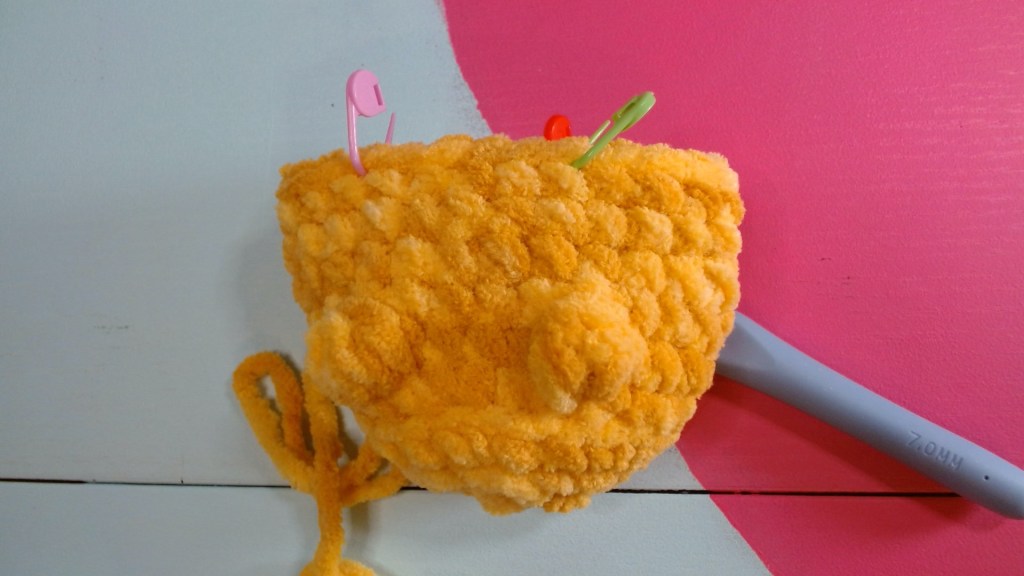
In the next round you will make the ears. Using the same procedure as above with the upper paws, use stitch markers to mark where the two ears will be. You want them to be centred with the paws.

Round 13 – sc 7, make ear (into next stitch, dc, ch 1, dc), sc 2, make ear, sc to end of row

Fasten off, weave in ends

Making the face:
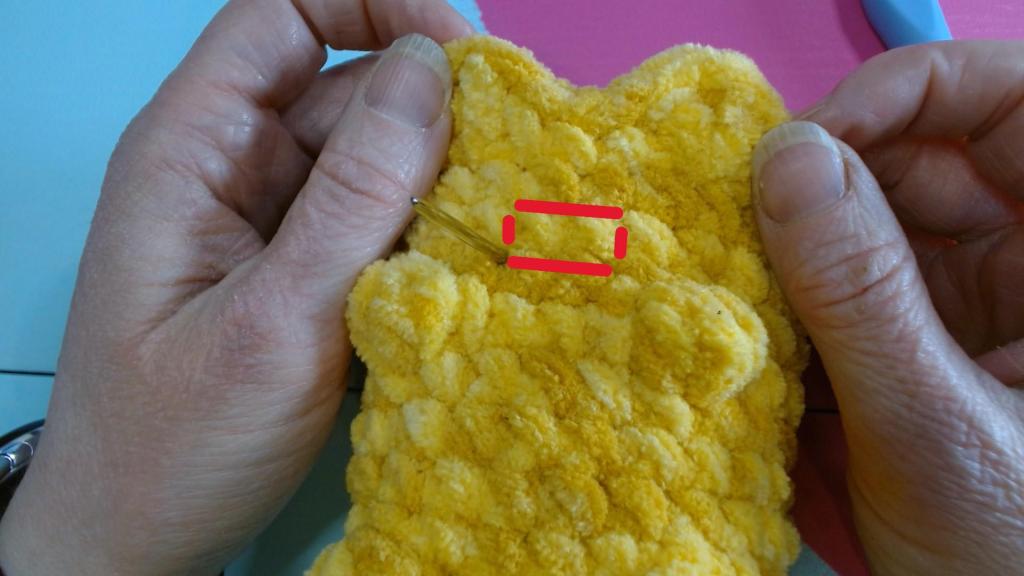
Once you’ve made your “x” for the mouth and nose, draw an imaginary line diagonally out from the top corners. Use this as a placement guide for the eyes. Use a French knot to make open eyes or a slanted line or two to make closed eyes.

You’re done! Add a can and enjoy! 🙂
Conclusion
Designing and crafting the cat can cozy has been a rewarding journey, and I’m thrilled with how it turned out. It’s a simple yet effective solution to a common problem, wrapped up in the most adorable package. If you’re someone who loves cold drinks but dislikes cold hands, I encourage you to give this project a try. Your hands—and your heart—will thank you!
Thanks for reading!
Catch you next time,


Leave a comment